Tutorial 1: Setup
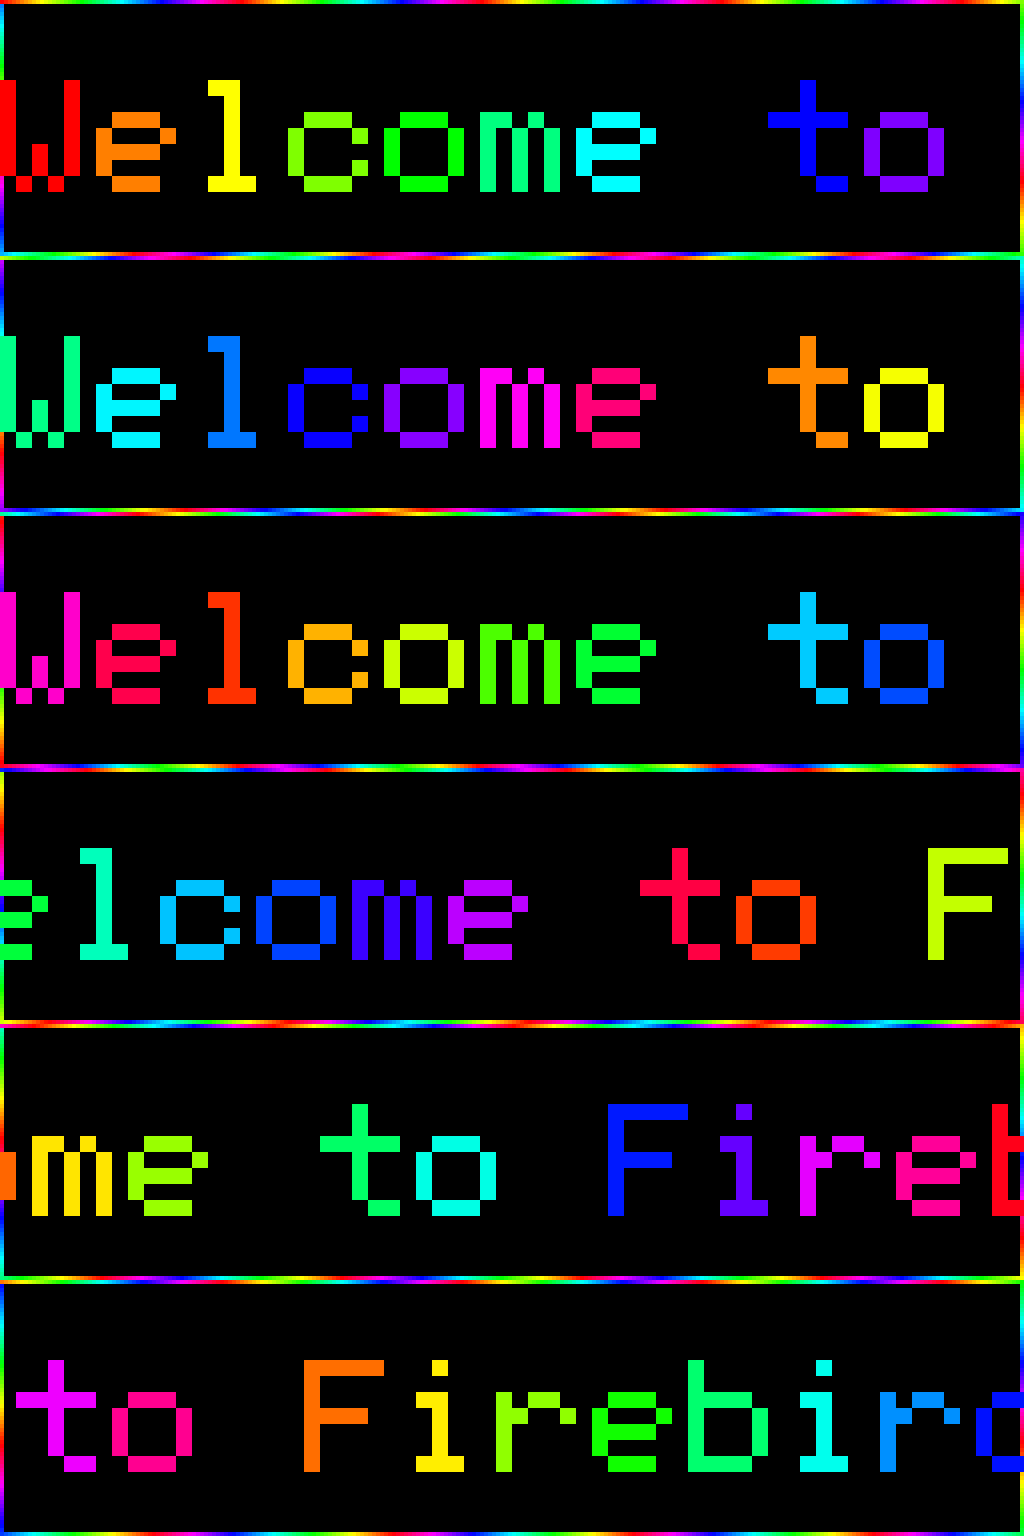
Over the next five chapters you’ll build a real bigsign config from scratch — starting with a single message and ending with a multi-section sign that rotates through a rainbow welcome card, a brand card (the @firebirdyoga.demo handle next to the hi-res Instagram sprite over a phoenix image with scrolling promo copy), and a held info section (Summer Camps, Open daily, All levels).
This chapter gets the code running on your laptop. No hardware needed.
~2 min · no hardware needed
What you’ll need:
- A laptop (macOS, Linux, or Windows)
- Git — to clone the repository
- Docker — the only tool needed for the live preview
- make — standard on macOS and Linux; on Windows use WSL or Git Bash
Clone and start
Section titled “Clone and start”git clone https://github.com/JamesAwesome/led-ticker.gitcd led-tickermake tryWhat each command does:
git clone— downloads the repository, including all bundled fonts, example configs, and the try image.cd led-ticker— enters the project root. Allmaketargets and file paths in this tutorial assume you’re running from here.make try— builds the try Docker image and starts a headless display engine plus the web UI sidecar. No LED panel, no Raspberry Pi needed.
Once make try is running, open http://localhost:8080 and click the
live preview tab. You’ll see the bundled example — scrolling Hacker News
headlines and a Nyan Cat sprite-trail transition — rendering live in your browser.
Preview the destination config
Section titled “Preview the destination config”The GIF at the top of this page shows the Firebird Yoga config you’ll build in
chapters 2–5. You can preview it live right now: stop the running session
(Ctrl-C), copy the destination config, and start make try again — the
config choice happens at startup:
cp config/config.bigsign.firebird.example.toml config/config.tomlmake tryThe browser preview switches to the Firebird Yoga sign. When you’re done exploring, delete the copy so you start fresh in Chapter 2:
rm config/config.tomlOpen config/config.bigsign.firebird.example.toml in your editor and skim it.
You’ll recognise each section in the preview. The comments explain the Pi-specific
knobs (pixel_mapper_config, gpio_slowdown, pwm_bits) — safe to ignore for
now; make try skips them via the headless backend.
The live preview loop
Section titled “The live preview loop”From Chapter 2 onward you’ll create your own config/config.toml. When that
file exists, make try previews YOUR config instead of the bundled example —
hot-reloading as you edit.
Save a change to config/config.toml while make try is running and the
browser preview updates within one playlist cycle. [display]-level changes
(rows, cols, scale) need a container restart: press Ctrl-C, then make try
again.
The live preview requires a [web] block in your config. Chapter 2 includes it
in the first config you create.
What this chapter doesn’t cover
Section titled “What this chapter doesn’t cover”This tutorial stays on the laptop preview throughout — but it builds toward hardware: by the end of chapter 5 you’ll have a complete config ready to put on a real sign. Building your own covers the wiring and panel bring-up, and Quickstart B is the deploy path. Keep those tabs open for when you’re done.
What’s next
Section titled “What’s next”In Chapter 2 you’ll build a config from scratch, adding your first [display]
block, a [web] block, and a single message widget. By the end of that chapter
you’ll have a working one-section config and understand the basic structure every
led-ticker config follows.